Blog

Unity3D Parachute – Cloth, Joints and Physics

November 2, 2010 by Devin Reimer

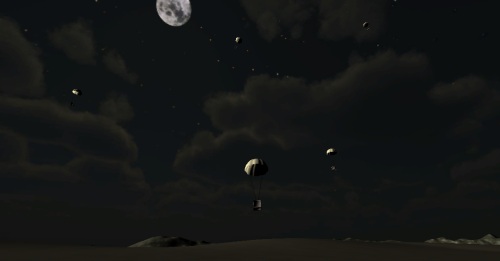
When I first received the Unity 3.0 Beta one of the first things I played around with was the new cloth physics. What better way to learn something than to make a tech demo. After some thought I decided on creating a parachute.

One thing I quickly discovered about the new cloth physics within Unity was that it is very heavy (requiring a lot of computing power). That means for the most part cloth physics are slow. So before you go off and try to create a game with lots of physics based cloths you have been warned, it will probably end up being too slow. While cloth does have its uses, they are a little more limited than I had hoped.

My original plan for this demo was to build a parachute using only cloth physics. I ended up having to tweak this a bit for performance reasons. Since in real life a parachute moving downward is fairly rigid so I instead opted to only swap in a physics based cloth once the parachute’s payload touches the ground. The rest of the time I would use a normal mesh renderer. This way I can get the parachute to collapse nicely over the payload but only use the physics aspect for a short period of time.

The parachute’s movement is completely driven by the physic system. A configurable joint is used to attach the Rigidbody of the parachute to the payload (in this case a crate). A physics force is then applied to the parachute based on the maximum amount of lift that parachute is capable of. This way if you increase the mass of the payload the parachute will fall faster and on the flip side a payload of less mass will fall slower.

I ended up leaving the Interactive Cloth’s options pretty much unchanged as changing some of them ended up impacting performance too much. The parachute’s cable are dynamically generated using LineRenderers.

This example is built is such a way that you should easily be able to attach whatever you would like as the parachute’s payload.

To check out the demo click here.

To get the source (unitypackage) click here.

Source Requirements: Unity 3.0

Thanks again to Calin for creating the models.
JigLibFlash FIVe3D Dominos

October 1, 2009 by Devin Reimer

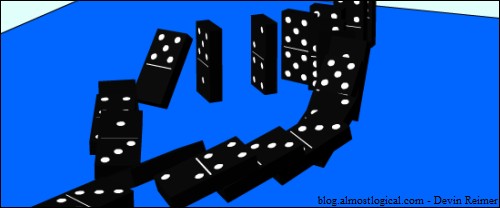
JigLibFlash FIVe3D Dominos

So far the only FIVe3D JigLibFlash example I have shown is the Falling Cube Demo. So it was time to create something a little more practical. Dominos.

In this demo you can create, position and rotate dominos, then knock them over. You can also move the camera around the scene to get a better view.

This demo is my first use of flat shading in FIVe3D , which is a new feature in V2.1.2. Flat shading couldn’t be easier to implement, I simply set scene.ambientLightIntensity=.05 and then set all the sides of my dominos to flatShaded=true. I’m impressed with how easy it was to add and how much more visually appealing it made this demo.

This demo is also my first since joining the JigLibFlash team and adding FIVe3D support to the JigLibFlash library. This means the sample source does not contain any JigLibFlash classes, as they are now within the JigLibFlash library itself. Make sure you update your version of JigLibFlash rev 101 or higher.

To check out the demo click here.

To get the demo source click here.

Source Requirements: You will need both FIVe3D 2.1.2 and JigLibFlash to compile the demo source.

JigLibFlash FIVe3D Support and FIVe3D Cube

August 3, 2009 by Devin Reimer

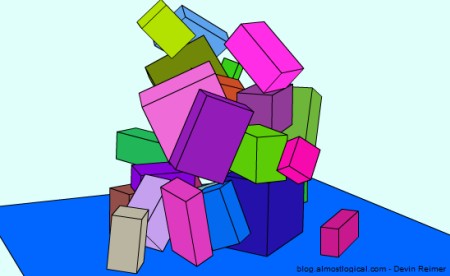
FIVe3D JigLibFlash Demo 1 Screenshot

Last week I spoke at ‘Flash in the Peg‘ – Winnipeg’s Adobe User Group. Here I got the opportunity to show a demo of JigLibFlash FIVe3D support that I have been working on for the last few weeks. After more hours than I would like to admit JigLibFlash FIVe3D support is now available for download. Like both JigLibFlash and FIVe3D these classes are released under the MIT License.

If you have used FIVe3D before you will know that there are no 3D object primitives built into the library, because of this I have also wrote a Cube class primitive for FIVe3D. Even if you do not need to use physics in your project you can still use this new Cube primitive.

Setting up JigLibFlash to work with FIVe3D is not quite as easy as Papervision3D, but it’s not a lot harder. The reason for this is FIVe3D does not allow for direct transformation matrix manipulations. In simpler terms a  few small changes needed to be made to the Sprite3D class within FIVe3D. You can use my modified version of the Sprite3D class to replace your current version, or just add it directly to your project using the same package folder structure. An example of how to do this is in my source below. The modifications to the Sprite3D class are small and should have no impact on your projects (with or without JigLibFlash).

To check out the demo click here.

To get the demo source, including all required files click here.

To just download the required files (JigLibFlash FIVe3D Plugin, modified Sprite3D class and new Cube primitive) click here.

Source Requirements: You will need both FIVe3D 2.1.2 and JigLibFlash to compile the demo source.

Update: As I am now a JigLibFlash contributor, JigLibFlash library now has built-in FIVe3D support. For more information click here.

Update 2: The JigLibFlash team (myself included) have completed work on upgrading JigLibFlash to Flash Player 10. To view the my blog post on this click here.

JigLibFlash Rewrite – Video Game Case Physics Example

April 13, 2009 by Devin Reimer

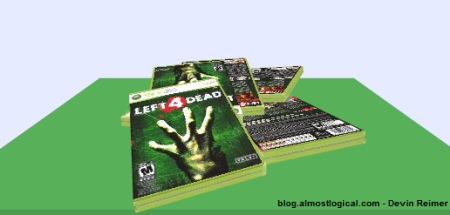
Video Game Case Physics Screenshot

Over the past 2 months the JigLibFlash team has been re-architecting the whole JigLibFlash project and the new version is now available. Using this re-architected library is quite a bit different from the old version. So before I convert some of my older stuff over, I decided to making a new demo of the updated library in action.

In this demo randomly positioned and oriented video game cases drop one on top of the other until 7 cases are on the screen. Then it resets and starts all over again. It is a very simple example, but it will give you a place to start.

To play the demo click here.

To get the source click here.

Source Requirements: You will need Papervision3D , JigLibFlash and bulk-loader to compile the source.

Note: The case is a scan of my copy of ‘Left 4 Dead’, if you want to read a good article on how the actual case artwork came to be, check out this link: http://www.l4d.com/blog/post.php?id=2353

3D Ball Adventure (JigLibMotionSpringCamera3D) Part 3

February 22, 2009 by Devin Reimer

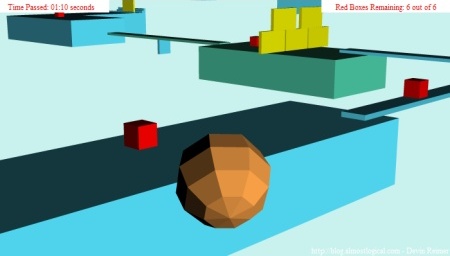
3D Ball Adventure Version 3 Screenshot

Over the passed week and an half, I went through almost every line of code in this project and rewrote and refactored it. After a bit of work, I discovered the cause of the major camera bug that would cause the camera to freak out when pointed north. This issue is now fixed. The springiness of the camera has also been loosened up a bit, so the camera motion is a lot smoother.

Since I got the new camera system to work, I decided to make it a nice and programmer friendly class called JigLibMotionStringCamera3D. I am aware that this name is terrible and long, but it describes the camera’s function perfectly. The camera uses a JigLibFlash RigidBody object as its target and moves based on its motion not the direction it is facing. Part of the camera’s smooth motion is achieved by extending the SpringCamera3D class. While this camera does have specific job, I know that there are a lot of uses for a camera like this. If you find a cool use for it, drop me a line.

The viewable area of this version has been increased and a little challenge has been added to the end of the level for those who played the last version.

If anyone has created any cool levels using the xml level creator send me an email. I would love to incorporate them in my next version.

To play the demo click here.

To get the source click here.

Note: You will need Papervision3D, JigLibFlash and Tweener to compile the source.

Update: The swf example has been updated to fix an issue when viewed on any page but the main page. Thanks to Chris Hill for pointing this out.