The other day I discovered a sweet feature in Unity that has existed for a long time. With this I decided to create a short list of some cool features in the Unity editor that you might not be aware of.
1) Inspector Lock – At the top of the inspector panel there is a small ‘lock’ icon. This locks the inspector to currently selected GameObject. This is great for things like adding GameObjects to arrays.
http://unity3d.com/support/documentation/Manual/Inspector%20Options.html
2) Multiple Inspectors – Click the ‘context menu’ icon (next to the ‘lock’ icon) in the inspector. In that drop down, select ‘Add Tab’, then ‘Inspector’. Use in conjunction with inspector lock to become a productivity machine.
(via @AngryAnt – http://twitter.com/#!/AngryAnt/statuses/142724785384865793)
3) Project and Hierarchy Search By Type – Not only can you search for items by name, but also by type. To do this, click the ‘Search’ icon drop down and select ‘Type’. Or to be more efficent, simply type ‘t:type’. Ex: t:texture, t:material, etc.
(via @aras_p – http://twitter.com/#!/aras_p/status/143010880706183168)
4) Inserting and Deleting Items From Arrays In Inspector – Populating arrays using the Unity editor is very handy, that is until you realize that you need to remove or add an item in the middle of the array. It might appear that there is no way to do this, but there is. To duplicate an item, select it and hit Ctrl-D (Windows), Command-D (Mac). To delete an item, hit Shift-Delete twice (once to clear, second time to remove it)
5) Creating New Line in Inspector Text Input – On a Mac simply hit Option-Return to create a new line. On Windows this functionality is…’missing’. Normally you would have to copy and paste a new line for somewhere else. 
As this is kind of lame, I wrote a Unity editor script to fix this. Simply create a folder in your project called ‘Editor’ and drop this script (InsertNewLine.cs) into it.
Now you can simply hit Alt-Enter on Windows to create a new line. 
http://answers.unity3d.com/questions/43424/multi-lining-or-line-breaks-for-the-inspector-wind.html & http://blog.almostlogical.com/resources/InsertNewLine.cs
6) Creating a Prefab Quickly – Simply create your GameObject in the Hierarchy and drag it down into the Project panel. Instant prefab!
http://blogs.unity3d.com/2011/03/25/ninjacamp-iii-quick-prefabs/
7) Editing Primitive Collider Dimensions in Scene View – Select a GameObject with a collider and hold down the shift key. Small greens squares will appear in the Scene View which you can then manipulate.
http://unity3d.com/unity/whats-new/unity-3.4.html
8) Adding Game & Scene View Icons to GameObjects – Click on the GameObjects icon in the inspector. From this drop down you can select the icon type, color and even create a custom icon. You can also add icons to custom scripts. Select the script in the Project panel. Then click it’s icon in the inspector. This icon will get applied to all GameObjects that have this script attached. This is very handy for marking things like waypoints.
http://unity3d.com/support/documentation/Manual/Gizmo%20and%20Icon%20Visibility.html
9) Snap To Vertex or Collider – To snap to vertex, hold ‘V’ and then click and hold down on the desired vertex. Drag your mouse around to snap it to the required vertex of another mesh. To snap to collider, hold Shift while dragging in the center when using the Translate tool.
http://unity3d.com/support/documentation/Manual/Positioning%20GameObjects.html
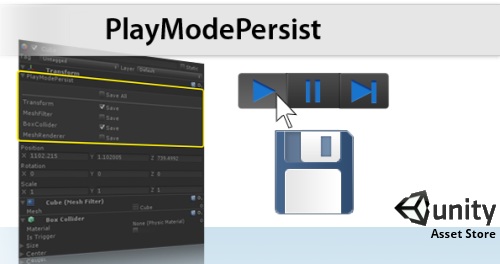
10) Scripting the Editor – This is one of my favourite features and something people do not do enough of. If there is something the Unity editor doesn’t do by default you can write it yourself. Extending the editor is very easy and incredibly powerful. As an example I wrote a tool called PlayModePersist that can save changes your made in the editor while in PlayMode.
http://unity3d.com/support/documentation/Components/gui-ExtendingEditor.html
If you have any additional items you would add please put them in the comments below.


